Electronic shelf labels
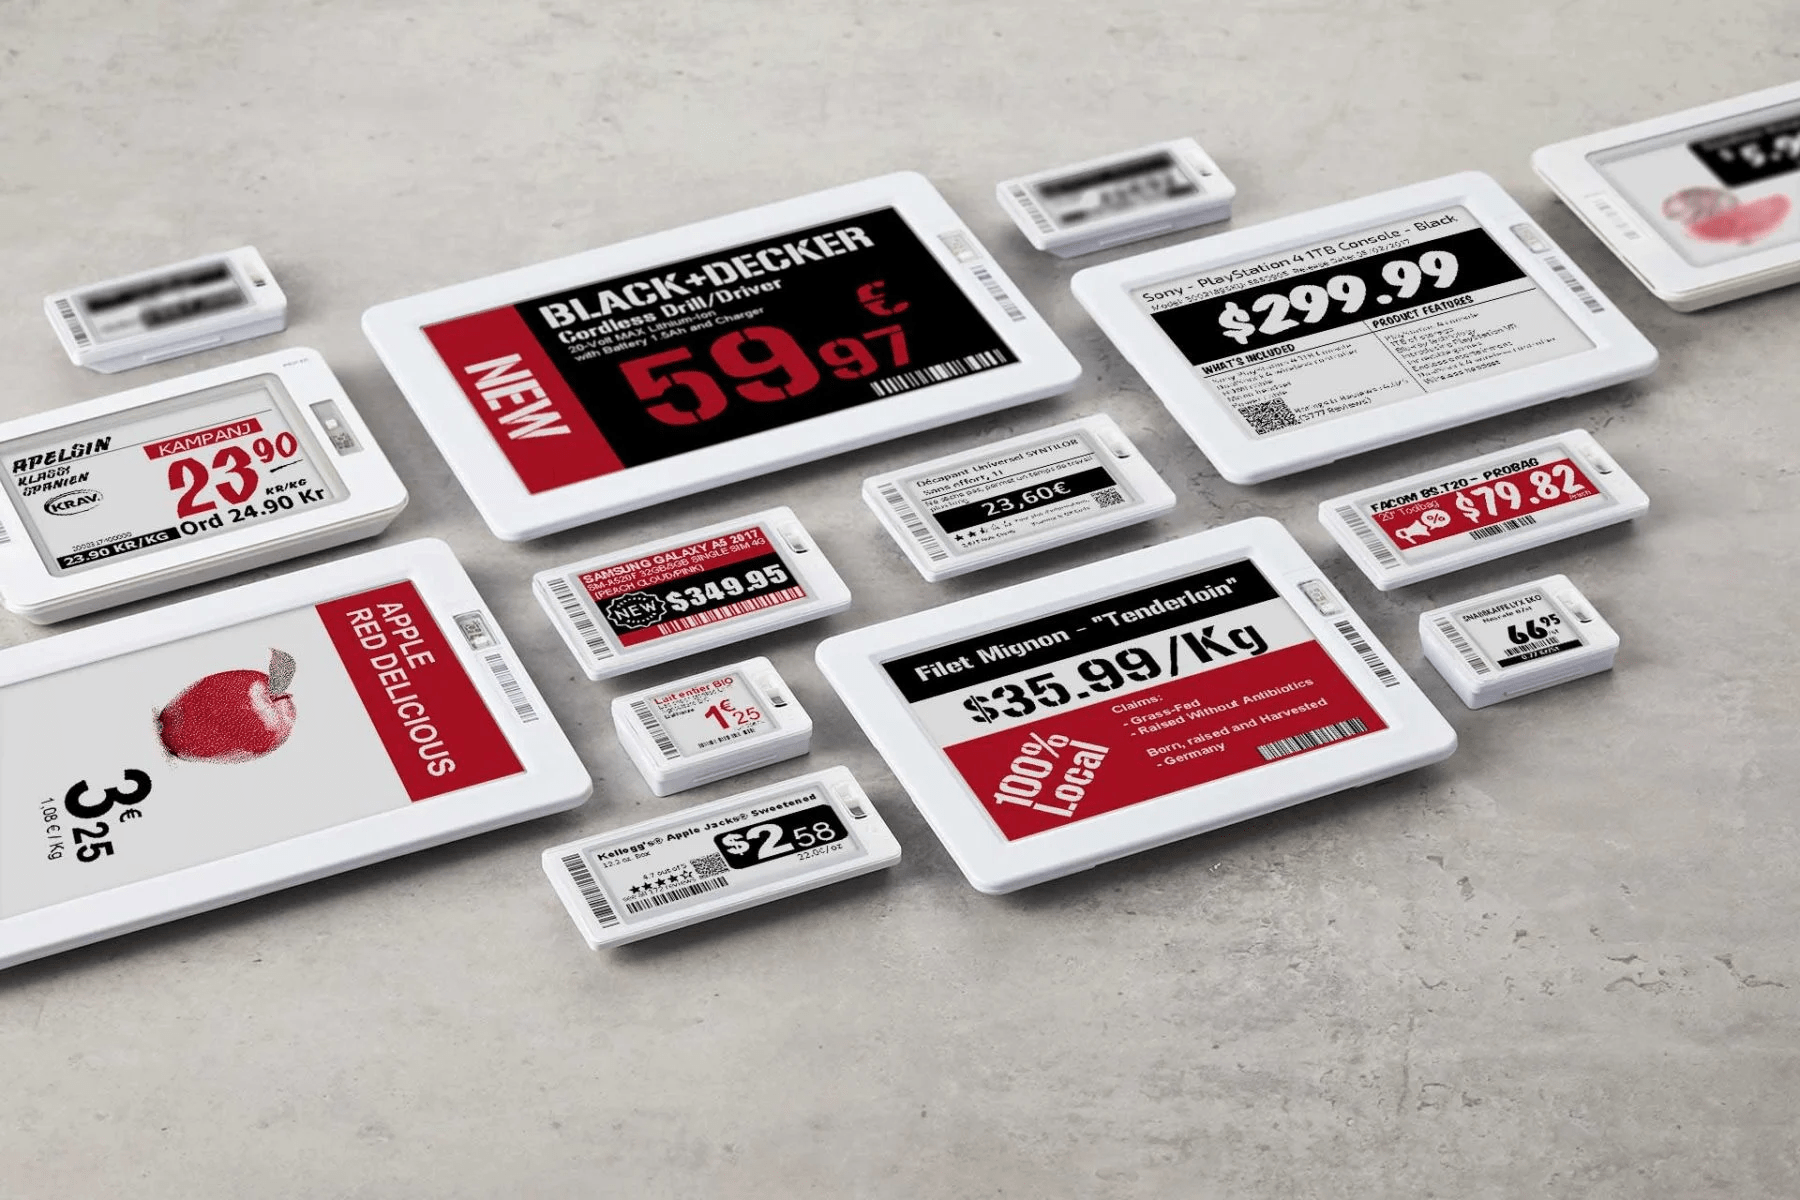
Electronic shelf labels allow you to display product information like prices and barcodes on store shelves and to synchronize them remotely from the backend. This removes the need to print new labels when product information changes.

Note
Odoo uses electronic labels from Pricer.
Configuration
Pricer setup
Get in touch with Pricer to create and configure your Pricer account.
Create your stores: one pricer store equates to one physical store.
Link as many transceivers as needed to the Pricer store(s).
Create the following variables to share product information between your Odoo database system and Pricer. These variables act like placeholders on the label template.
itemId: this holds the unique internal identifier assigned to each productitemName: the actual name of the productprice: the selling price of the product, including any applicable taxespresentation: the template name used in Pricer for displaying the product information on the labelcurrency: the currency of your company (e.g., USD, EUR)barcode: the barcode number associated with each product
Important
The names for these variables must be identical in your Pricer database.
Create a template named
NORMAL. This template is used to display information on your digital tags.
Once your account, stores, variables, and template are configured on Pricer, you can proceed with the setup of your Odoo database.
Important
The account associated with your Pricer store must have access to send API requests to Pricer.
Odoo setup
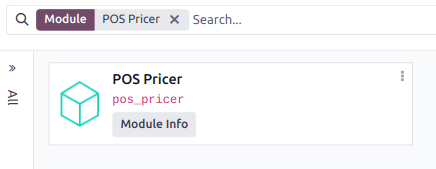
As a pre-requisite, activate the POS Pricer module (technical name: pos_pricer) to have all the required features to use Pricer electronic tags.

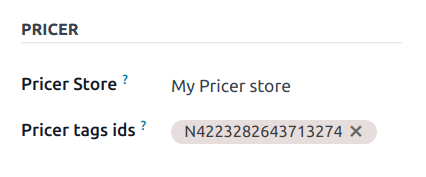
Once the module is activated, configure your pricer stores and associate Pricer tags with your products.
Pricer stores
Similarly to the configuration in Pricer, you need to create one pricer store per physical location. To do so, go to , click New, and fill in the line with the required information:
Store Name: you can put any name of your liking.
Pricer Tenant Name: the name of your company account in Pricer, usually followed by
-country_code. This value is provided by Pricer.Pricer Login: the login of your Pricer account.
Pricer Password: the password of your Pricer account.
Pricer Store ID: the ID of the related Pricer store as defined on your Pricer database.

Note
The Pricer Tags column is updated automatically when a label is linked to a product.
The Last Update and Last Update Status columns are updated automatically when the tags are updated.
Practical application
Odoo automatically sends requests to Pricer to synchronize the tags every 12 hours if you make any modifications to:
Product name, price, barcode, or customer taxes
Currency
Associated Pricer store or Pricer tags
To force the update, activate the developer mode. Then:
Go to .
Select the desired store(s).
Click Update tags to update all tags affected by changes to:
Product name, price, barcode, or customer taxes
Currency
Associated Pricer store or Pricer tags
Alternatively, click Update all tags to force the update of every tag, regardless of whether changes were made.

If Pricer has processed and accepted the request, the status field shows Update successfully sent to Pricer. If there is any issue, the system displays an error message.
Warning
If a request sent to Pricer fails, Odoo still considers that the product has been updated. In that case, we recommend forcing the update of all tags.
