Accountable Persons
1. Introduction
This instruction explains how to correctly register transactions related to accountable persons.
2. Installation and Configuration
Before you start registering transactions with accountable persons, you need to check the settings: Accounting -> Configuration -> Settings -> Accountable persons.

Assign an accountable persons journal and an account.
Regardless of how many accountable persons there are, all entries are recorded in one general ledger account.
3. Daily Usage Scenarios
When an accountable person pays an invoice:
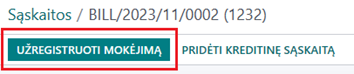
Find and open the required invoice and click “Register Payment”.
A new window opens where you need to:
Choose the journal for accountable persons;
Select manual payment method;
Choose the employee who made the payment;
Enter the amount paid;
Specify the invoice date, which is the date of payment (check);
Optionally specify which invoice is being paid;
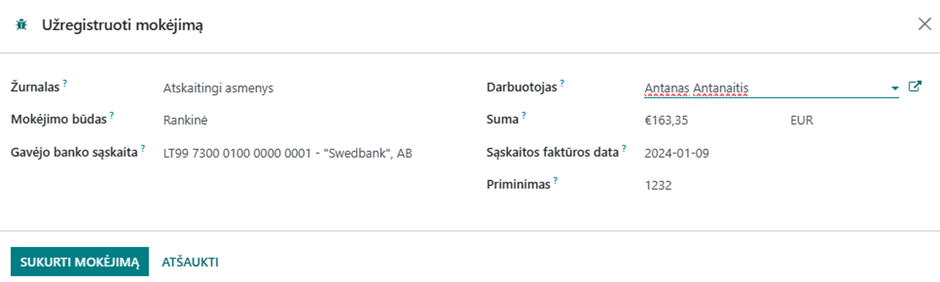
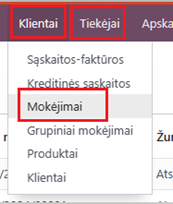
Click “Create payment”. We can see all payments under Customers (or Suppliers) -> Payments -> remove filters.
By clicking “New” here, you can also create a payment for the accountable person.
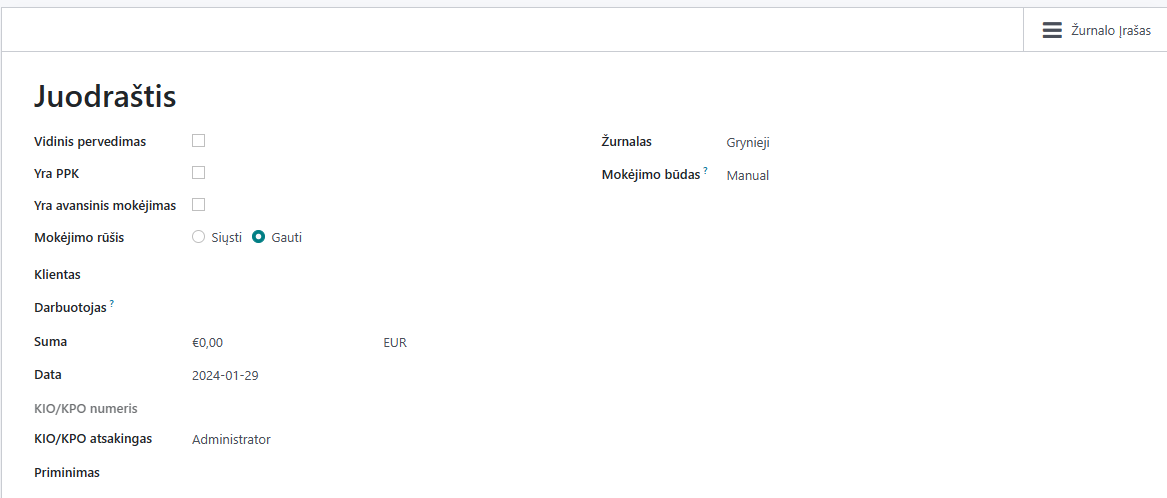
Issuing cash to an accountable person from the cash register:
At the suppliers/clients payment list, click “New”.
A new window opens where you specify:
Payment type - Send (when issuing from the cash register);
Employee - to whom the cash is issued;
Amount - how much is issued;
Date - the date of cash issuance;
KIO/KPO number, which is automatically assigned (ensure the sequence is set in Accounting -> Configuration -> Sequences);
KIO/KPO responsible - indicates who is responsible for cash transactions (by default, the user who created the post is assigned);
Reminder - the purpose of the cash issuance;
Journal - Cash (or can be, for example, a cash register, depending on the name of the journal for Cash transactions).
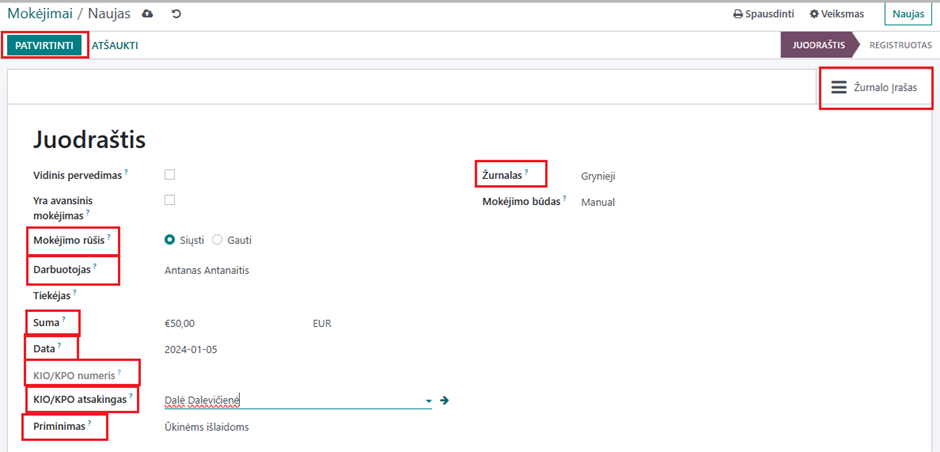
Check account correspondences by clicking “Journal Entry”. If all is well, confirm the transaction.
Depositing cash into the cash register:
Navigate to Clients -> Payments -> New.
Specify:
Payment type - Receive (when depositing into the cash register);
Employee - who is depositing the cash;
Amount - how much is being deposited;
Date - the date of deposit;
KIO/KPO number - automatically assigned (ensure the sequence is set in Accounting -> Configuration -> Sequences);
Responsible for KIO/KPO - indicate who is responsible for cash register operations;
Reminder - the purpose of issuing money;
Journal - Cash (or can be, for example, a cash register, depending on the name of the journal for Cash transactions)
Payment method - Manual;
You may also check the Journal entries before confirming the transaction.
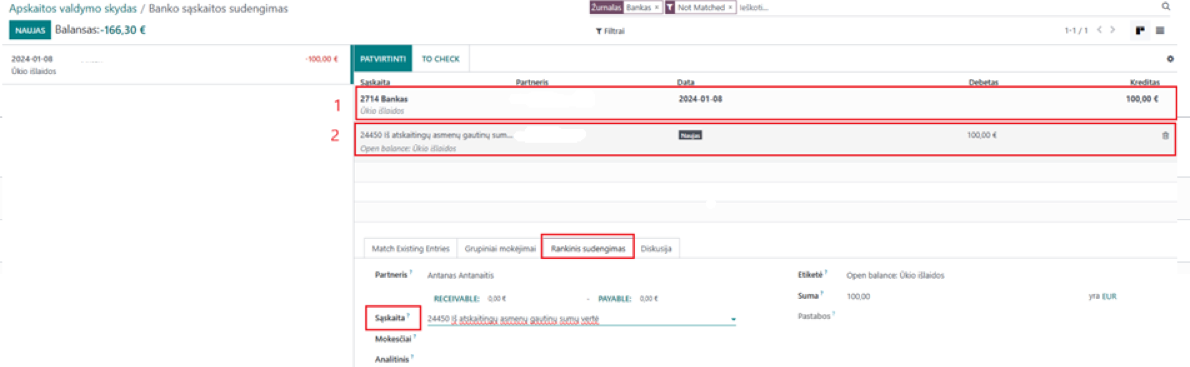
Bank transfer to an accountable person:
Typically, bank statements are imported or synchronized, showing the transfer operation:
Row no. 1 - formed from a bank statement
Row no. 2 - the system tries to automatically find what the order was made for
Through manual closing, select which employee the order was made to
Click Confirm

You can view the accountable persons entries in Accounting -> Accounting -> Ledger lines.
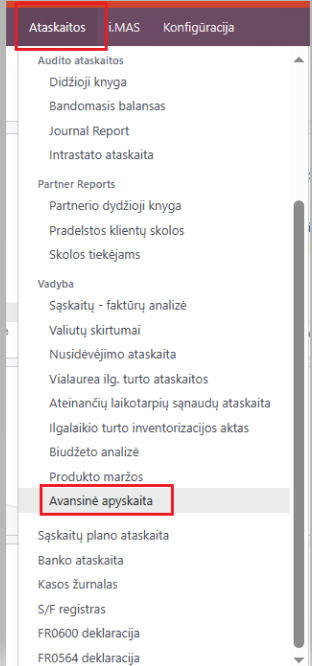
4. Reports and Documentation
For the selected period, you can print the accountable person’s Advance Report:
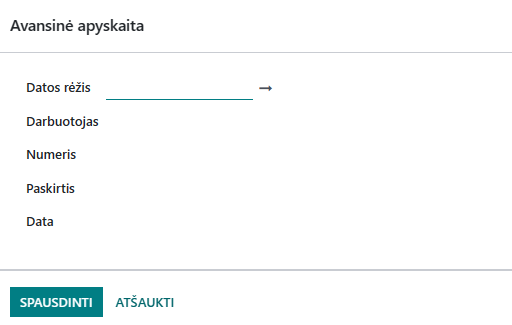
Date range - select the period for the report;
Employee - choose who the report is for (multiple employees can be selected);
Number, purpose, date - optional fields, which can be filled in to print in the report;
Print the advance report.